During operation of the boiler, different situations occur. Storage models need regular cleaning and change of protection. When replacing parts, you will also need knowledge on how to disassemble a water heater. If you are used to solving problems yourself, do not want to wait for the master - read our article.

Reasons for disassembling the boiler
In what cases do you have to disassemble the equipment yourself? There may be several reasons. First, we give signs that you can recognize the problem:
- Water has an unpleasant odor and a cloudy color.
- Limescale flakes are noticeable.
- The case is shocking.
- Often triggered RCD. Why a water heater knocks an RCD, read in a separate article.
- Water heats for a long time or does not heat up at all.
- The set is slow, the flow is weak.
- Body leakage.
These signs indicate problems in the operation of the boiler. What could lead to a malfunction:
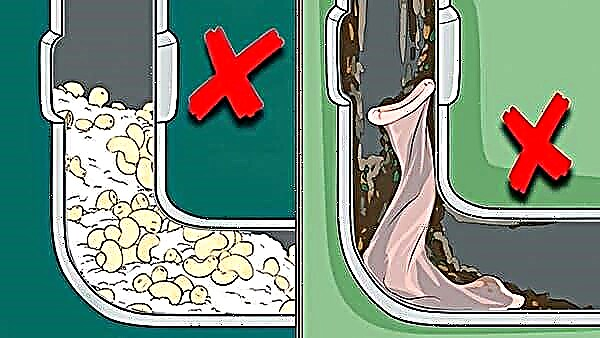
- Untimely tank maintenance. If the region has hard water, magnesium and potassium salts settle on the walls of the case and parts when heated. As a result, an unpleasant smell appears, turbidity. Water is heated for a long time, since the thermal conductivity of the heating element decreases. Once every six months it is recommended to look into the tank and check its condition, replace the magnesium anode and clean parts.
- Gasket wear. If the tank is leaking, the gaskets are inspected first. In case of case corrosion, replacement will be required.
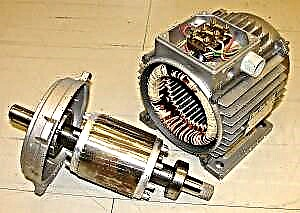
- Burned out TEN. In such cases, you need to install a new element.
- Thermostat breakdown.
DIY dismantling
You need to start by draining the water. Immediately unplug the device; if the wire leads to the shield, disconnect all contacts.

Wait for the water in the tank to cool. How to drain water from a water heater of different brands, we already wrote in a separate article. Recall the main methods:
- Using a tee between the valve and the pipe.
- Through the safety valve flag. Lift it up and the drain will begin. It will take a lot of time, especially if the tank volume is large.

Quick way:
- Prepare a deep container and rubber hose.
- Substitute the container under the location of the check valve.
- Twist the check valve. The water flow will be large, so you can connect a hose and bring it to the sewer.
Thus, the contents will quickly merge, and you can get to work.
Disassembly Features
Boilers "Termex", "Ariston", "Combustion" may differ in design and construction. Therefore, immediately determine what type you are dealing with.
It could be:
- TENovy heater - "the central nut on 55".
- Economy class - with oval flange.
- Medium class - bolts in a circle.
- With a flat tank.
TEN heater
This is the cheapest and easiest model - there are no adjusting devices on the case. The heater is fixed with one central nut, which is convenient to dismantle with a 55 spanner or gas No. 2.

Work sequence:
- Unscrew the two screws that secure the bottom cover of the case.
- Disconnect the thermostat wiring and remove it.
- Substitute a deep container under the tank, liquid residues may spill.
- Using a wrench, unscrew the nut counterclockwise.

For convenience, the housing can be removed from the wall and installed upside down.

- Now you can remove the heater. Remove it from the case - act carefully so as not to damage the element.
If the part does not come out due to scale, clean the hole a little using a plastic knife.
Economy class
This is a more modern technique. Most often, devices with an oval flange are manufactured by Ariston.
Important! This type of boiler cannot be disassembled by turning it upside down. During dismantling, the heater will fail inside, which will damage both the element and the walls of the tank.

- To remove the cover, you need to unscrew the two bolts. They are located near the inlet and outlet hoses.
- You can remove the thermometer by pulling it down, but the movement should be fast and accurate.
- A special nut secures the flange plate. Unscrew it and remove the flange.
- Before you pull out a part, scroll it.
Medium Class
The most common design, which is found in manufacturers Gorenje, "Polaris", "Ariston", "Atlantic". The heater is located on the flange, which is fixed with nuts in a circle. There may be five to six pieces.

During operation, the check valve may interfere with you, it is better to twist it. A common problem is finding bolts to remove the cover. Sometimes manufacturers hide screws behind stickers. Remove them and unscrew the fasteners.
- Remove the cover.
- Remove the temperature sensor. First disconnect the contacts from the heater.
- Remove the flange bolts using a socket wrench.
In the latest Ariston models, the manufacturer does not use screws, but stud nuts.

Flat tank
The Termeks and Polaris models are equipped with a flat case.
- Unscrew the flare nut.
- Remove the plastic shields.
- To open the cover, unscrew the screw in the center. It may be hidden behind a blank or sticker.
- You will open the wires and contacts. Take a picture of the correct placement.
- Tighten the nuts and screws that secure the electronic board and thermal protection. Take them off. Unscrew the ground nuts.
To remove the control board, disconnect its connector from the external board.
- Twist the flange nuts and remove the heater.
- If the device has two heating elements, as shown in the photo, photograph the connections before disconnecting.

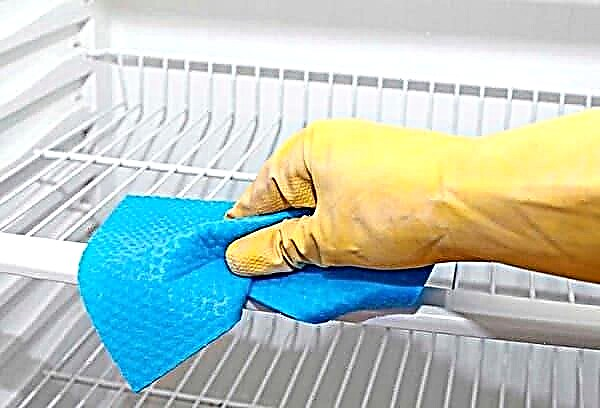
After disassembling, the tank is cleaned and rinsed from the inside. How to clean the water heater, read the previous article. You can use special means from scale, rinse the product in the shower.
TEN is also mechanically cleaned of scale, then it is lowered into a solution with citric acid. The magnesium anode is replaced during wear: it protects the product from corrosion, attracting harmful impurities to itself in water.

When assembling the equipment, it is desirable to dry all the details. Pay special attention to sealing; all gaskets must be intact. To extend the life of the product, follow the recommendations:
- Service the appliance.
- Do not heat water more than 60-70 degrees.
- Install cleaning filters.
Watch a video that will help you do the job yourself: